
I can truly say that I am awful at Photoshop. I've tried it and I have failed miserably- I either have no complete idea of what I'm doing (even with YouTube videos) or I get distracted by all the different buttons. So when Daphne suggested PicMonkey, I looked it up and realized that it's free and I didn't have to sign up for anything at all. I've used PicMonkey for awhile now and it is very easy to understand as well as easy to edit any photo. I was looking through PicMonkey's blog and found a tutorial on "How to Make Yourself Look Like You're Levitating", which is how I made this picture. I already have had people asking me how I did this picture so here's a tutorial to help you all.
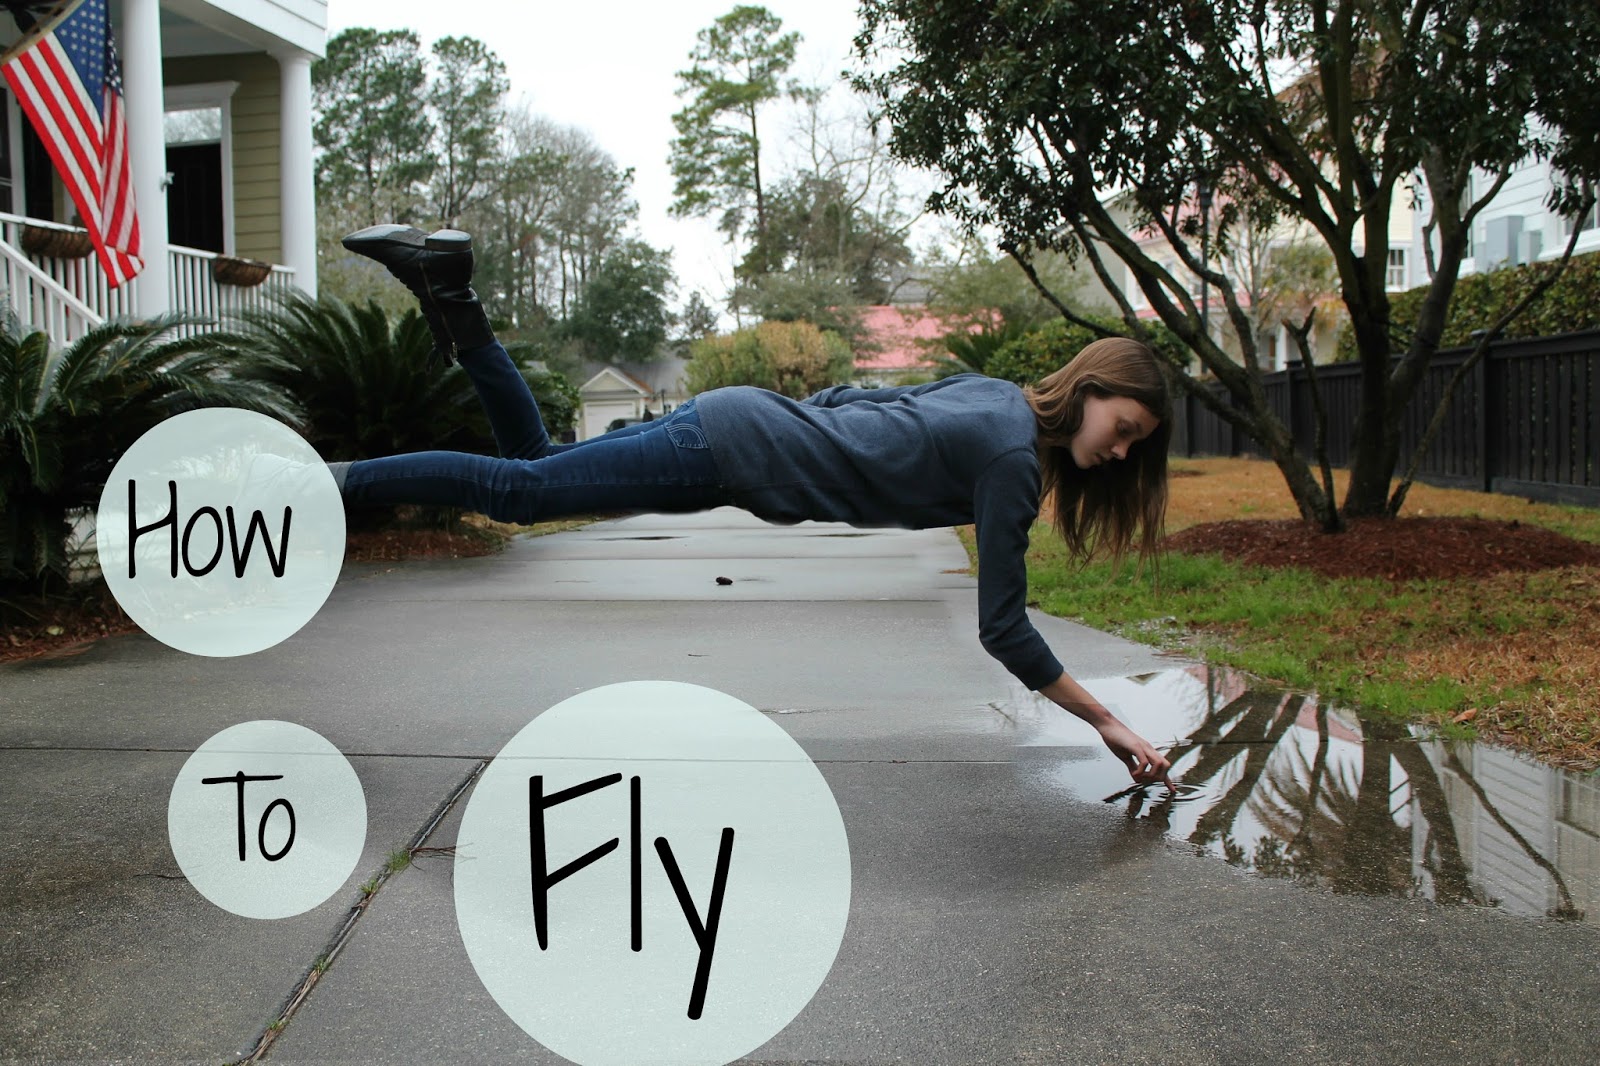 |
| Even with my small amount of editing knowledge, I was easily able to do this! |
You Will Need:
A camera (of course)
Tripod or steady hand
Computer
Let's Get Started!
- Go to PicMonkey and upload the picture of you on your object (we'll call this Picture A). Go to the "Overlays" tab which is the butterfly icon. Click on "Your Own" and upload the plain picture that you are not in (Picture B). Align Picture B with Picture A. Take a picture of you on some sort of stool/chair/box/or if you're me, a garage fan from the 1990's. Also, take a picture of just the plain background without moving your position. You want your pictures to align correctly (if theydo not you can still "fly" it will just take longer).

- You will see a little box that comes up that lets you change the transparency of Picture B, set the transparency (it is called Fade) to about halfway so you can see both pictures. Click on the "eraser tab" and erase everything except the object used to support you.


3. Now change the transparency to 0% and the stool will "disappear" leaving you levitating in the air.
4. Click the botton at the top to merge Picture A and Picture B so they won't move.
 |
| It looks like this! |
Next, you will need to make a shadow under you to create the illusion that you are actually "flying".
- Go back to the Overlay Tab. Then click the tab that says "Geometric" and select a rectangle.
- Open the drop down box that says Blend Modes and use the option "Overlay".


- Set the rectangle's transparency to around 75%. Then use the eraser to shape the rectangle into a shadow looking figure.
- After this you can edit your picture however you feel like.
 |
| We're all done! Wasn't that easy? |
Feel free to send me some of your pictures of tell me how it went in the comments, have fun "flying"!
Love,
Natalie
(Special thanks to the PicMonkey bloggers for teaching me this awesome levitating tutorial)
No comments:
Post a Comment